
How to review a PR
Use this procedure when you are the Tech Writer (TW) or Service Engineering (SE) reviewer for a troubleshooting guide pull request.
For the required review order, labels, and PR statuses, see PR workflow. For reviewer actions and handoffs, see Review and approve PRs.
Open the pull request
Section titled “Open the pull request”-
Navigate to github.com/ZiplineTeam/service_docs.
-
Open the PR from either the repository view or the project kanban board:
- From the repository view, click Pull requests near the top left, then click the PR you want to review.
- From the TSG Review Workflow project kanban board, click the PR card.
Confirm the PR is ready for review
Section titled “Confirm the PR is ready for review”-
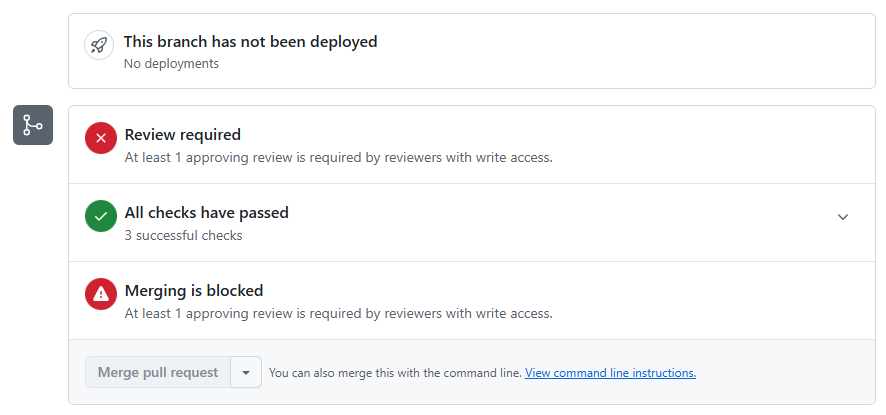
Confirm that all required checks have passed. Review failed-check details to determine whether a fix is needed before rerunning the check.
Passed checks example
-
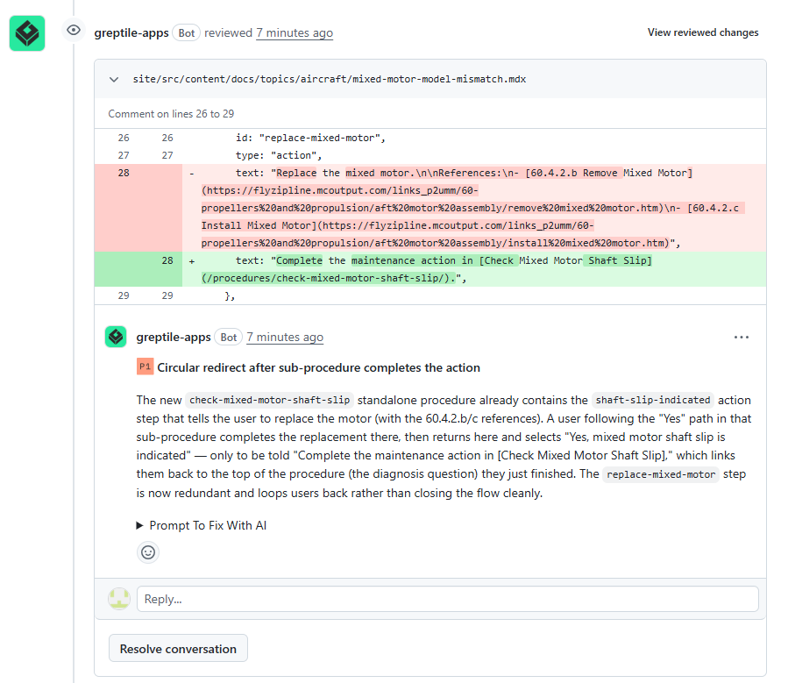
Review outstanding Greptile and other review comments. Depending on the type of comments outstanding, you can return the PR immediately or complete your review first and return all findings together. When returning the PR, explain what needs attention, tag the author, and change the status to Waiting for Author Updates. Outstanding findings must be addressed before approval.
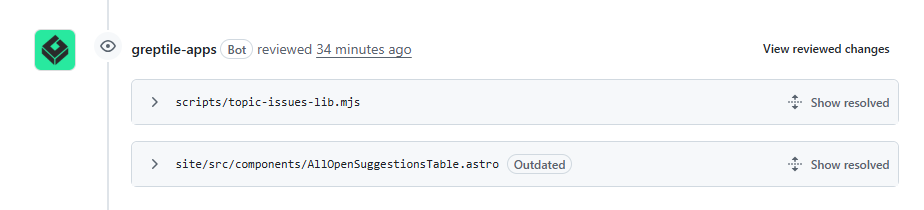
Review resolved Greptile comments and relevant comments from previous reviewers to understand the changes and confirm that the issues were addressed.
Open Greptile comment example
Resolved Greptile comment example
If required checks have not passed, add a comment explaining what needs to be done, tag the author, and change the PR status to Waiting for Author Updates.
Read the PR context
Section titled “Read the PR context”-
Read the summary near the top of the PR to understand the change.
-
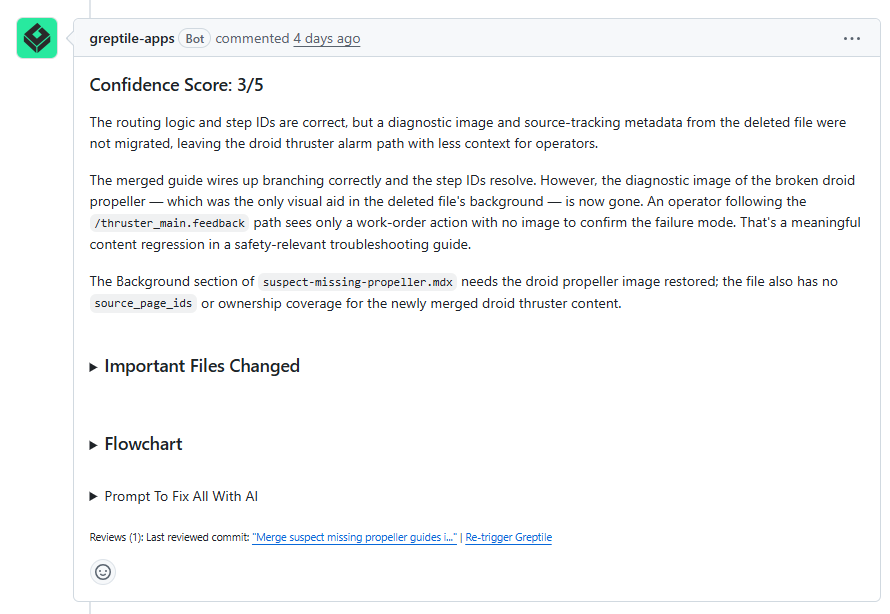
Read the Confidence Score panel and the AI Content Review section to see if there are issues you should focus on.
Confidence score example
Open the rendered preview
Section titled “Open the rendered preview”-
In the Cloudflare block, right-click Branch Preview URL to view the UI version of the changed files on a new tab.
NOTE: The branch UI browser will display the troubleshooting guide home page. Do not yet navigate to that tab. Continue to the next step below.
Branch preview URL example
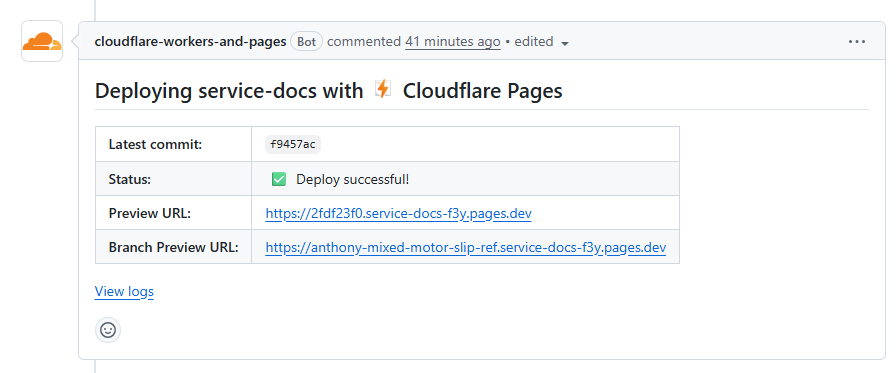
Use Branch Preview URL when reviewing a PR. It updates as the PR branch changes, so it is the best link for checking the current version of the proposed changes.
Use Preview URL only when you need to inspect what was built for one specific commit. If the author pushes more changes later, the Preview URL will not show those later changes.
Review the changed files
Section titled “Review the changed files”-
In the PR, click Files changed at the top of the PR to see the list of files changed and the code changes.
Files changed view example
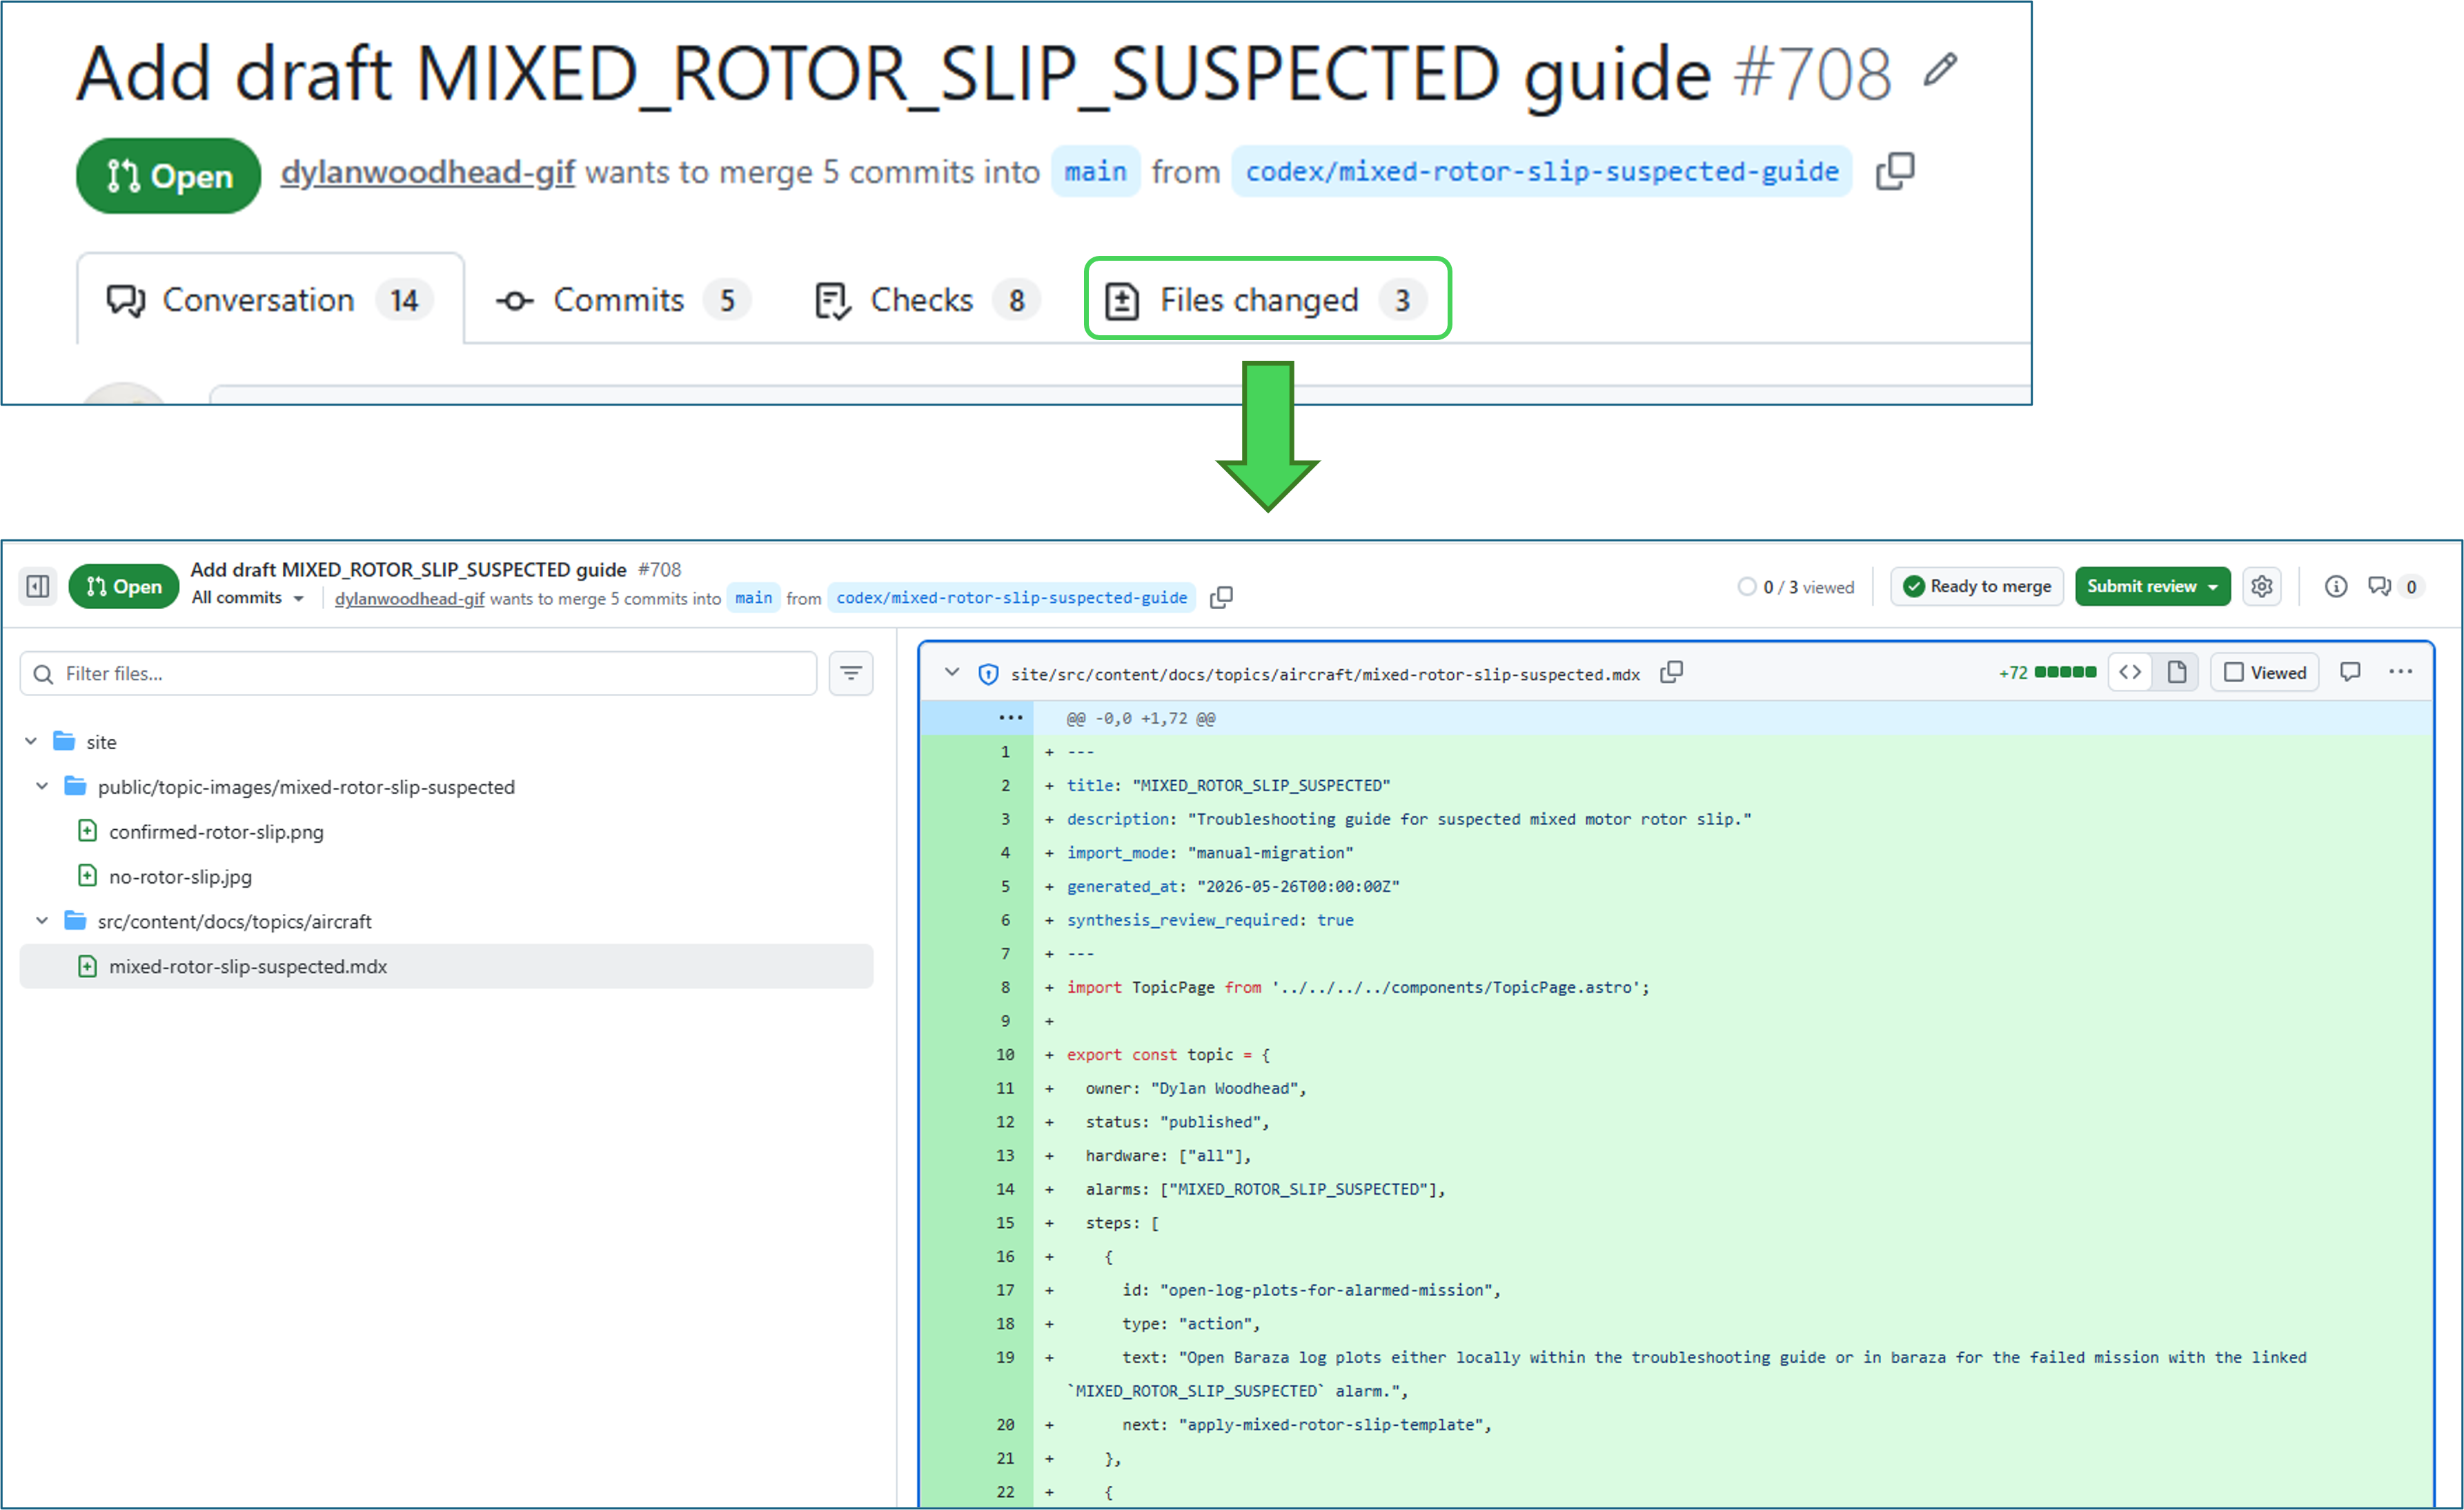
The added, removed, and edited images and files are listed on the left side of the view. Files with an
.mdxextension are documentation pages in this repo. -
In the left pane, click once on a file you want to review.
- Green background indicates new code.
- Red background indicates removed code.
- White background indicates code that has not changed.
-
Copy the file title. You can typically find it on line 1.
NOTE: If line 1 is hidden, click the “Expand all lines” icon in the upper-right corner of the file header to jump to line 1.
Copy file title example
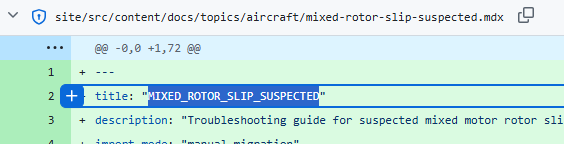
Navigate to line 1 example

-
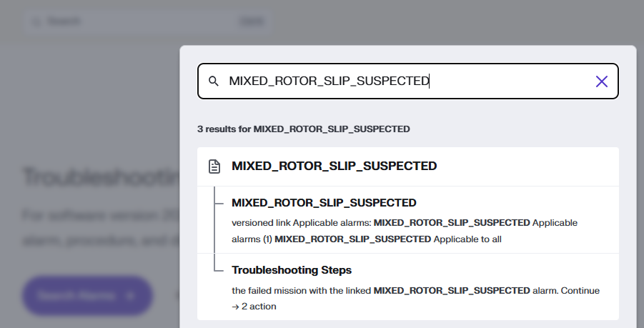
In the branch UI browser, paste the file title into the search field, and select the topic in the results.
Paste into search example
-
Review the topic in the UI and compare it with the changed code. Use the PR review checklist to confirm what to check.
Leave review comments
Section titled “Leave review comments”NOTE: If everything looks good and no review comments are needed, skip this section and proceed to Finish the review workflow below.
Use inline comments, general comments, or suggested code changes to explain the updates needed. You may directly fix formatting, spelling, grammar, and wording that does not change technical meaning. Propose technical changes as suggestions for the person completing the PR to address.
-
If you find errors, missing information, or missing or incorrect images, add a review comment in the code on the Files changed tab.
To add a comment:
-
Go back to the PR Files changed view.
-
Locate and hover over the line for the code that needs a comment.
-
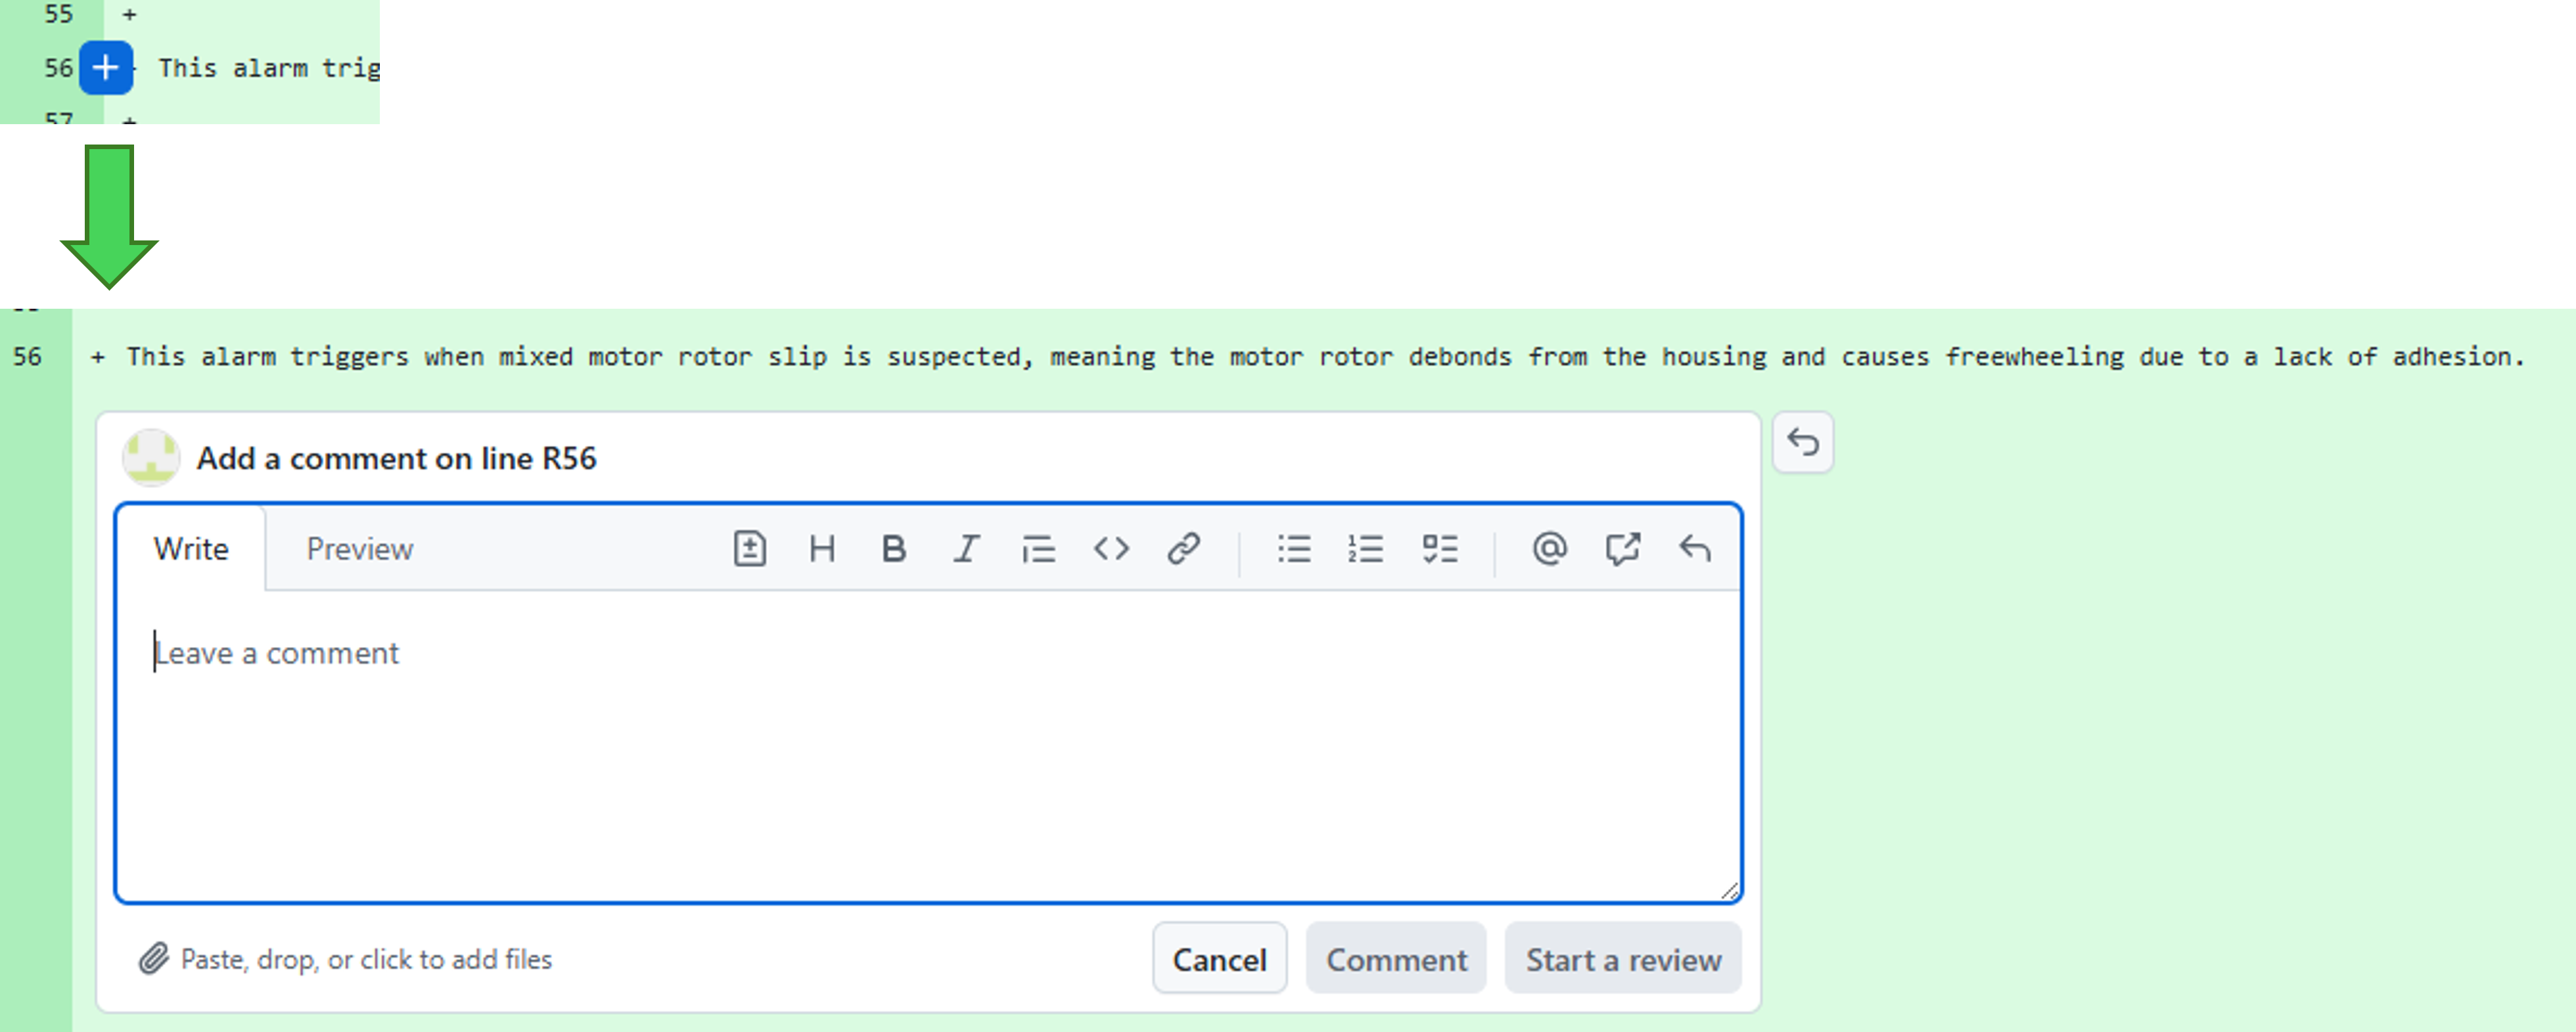
Click the blue plus sign near the line number. This opens a comment box.
Open comment box example
-
Leave a review comment or suggestion as needed. For comment box options and exact suggestion formatting, see Use review comment boxes.
-
Click Start a review. This collects your review comments until you are ready to post them. After you add subsequent comments, the button changes to Add review comment.
-
-
Continue reviewing each file in the PR and adding comments to files as needed.
-
When you have completed your review:
- If you added review comments, click Submit review on the Files changed tab, select Comment, and submit the review. If your findings or outstanding Greptile or other review comments require updates, change the PR status to Waiting for Author Updates.
- If no outstanding findings require attention, continue to Finish the review workflow below.
Finish the review workflow
Section titled “Finish the review workflow”Open Review and approve PRs and select the button that matches the PR author or review task. Complete the applicable label, status, approval, and final-review actions.
- Service Engineering reviewers add the
SE2-reviewedlabel and complete the applicable status handoff. - New guides use the New guide PR workflow with the assigned FSE coordinating completion. Existing-guide edits use the applicable SE1, SE2, or Engineer / FSE / Other author workflow.
- After final review, the assigned FSE completes the merge for a new guide; the author completes it for an existing-guide edit. Either may enable auto-merge for that PR.